Are you looking for a way to develop Android applications using a low-cost and versatile platform? Look no further than Raspberry Pi! With its low power consumption, affordable price point, and extensive range of features, Raspberry Pi is the perfect choice for developers looking to create innovative and engaging mobile apps. In this guide, we’ll explore everything you need to know to get started with Android development on Raspberry Pi.
Understanding Raspberry Pi
Raspberry Pi is a microcontroller board that was first introduced in 2012 by the Raspberry Pi Foundation. It comes in several different models, each with its own unique features and capabilities. The most popular models include the Raspberry Pi Zero, Raspberry Pi 3B+, and Raspberry Pi 4B.
At its core, Raspberry Pi is a powerful single-board computer that can be used for a wide range of applications, from media centers to gaming consoles to educational projects. It runs on the Linux operating system and supports a wide range of programming languages, including Python, Java, C++, and more.
Developing Android Applications on Raspberry Pi
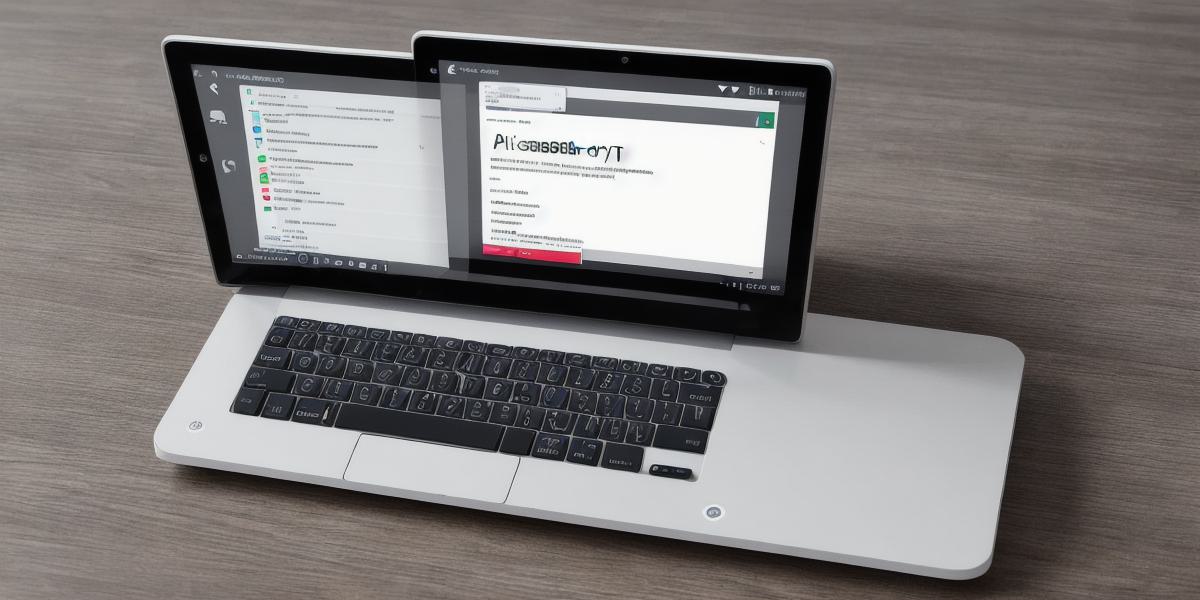
Now that we’ve covered the basics of Raspberry Pi, let’s dive into the world of Android development. Android is the most popular mobile operating system in the world, with billions of active devices running on it. It’s also an open-source platform, which means that developers can access its source code and modify it as needed.
To develop an Android application on Raspberry Pi, you’ll need to follow these general steps:
- Install the Android Development Kit (ADK) on your computer. This is a software development environment that includes tools for building and testing Android applications. You can download the ADK from the official Android website.
- Connect your Raspberry Pi to your computer using a USB cable. Make sure you have the latest version of the Linux operating system installed on your Raspberry Pi.
- Install the Android Studio Integrated Development Environment (IDE) on your computer. This is a powerful tool that allows you to build, debug, and test Android applications directly from within your IDE. You can download Android Studio from the official Android website.
- Once you have everything set up, you can start building your Android application using Java or C++. There are also many third-party libraries and frameworks available that can help speed up the development process. Some popular options include Retrofit for network communication, Room for database management, and RecyclerView for creating efficient user interfaces.
- Once you’ve completed your application, you’ll need to test it on a real Android device or emulator. Raspberry Pi can be used as an emulator, but keep in mind that it may not be as fast or reliable as a dedicated Android device.
- Finally, you’ll need to publish your application on the Google Play Store if you want to reach a wide audience. This will require you to create a developer account and follow the store’s guidelines for submission and review.
Real-Life Examples of Raspberry Pi Android Development
Now that we’ve covered the basics of developing Android applications on Raspberry Pi, let’s look at some real-life examples of how this technology is being used in practice.
One example is the use of Raspberry Pi to create interactive art installations. The low power consumption and affordable price point of Raspberry Pi make it a popular choice for artists looking to create engaging and immersive experiences that can be displayed in public spaces.