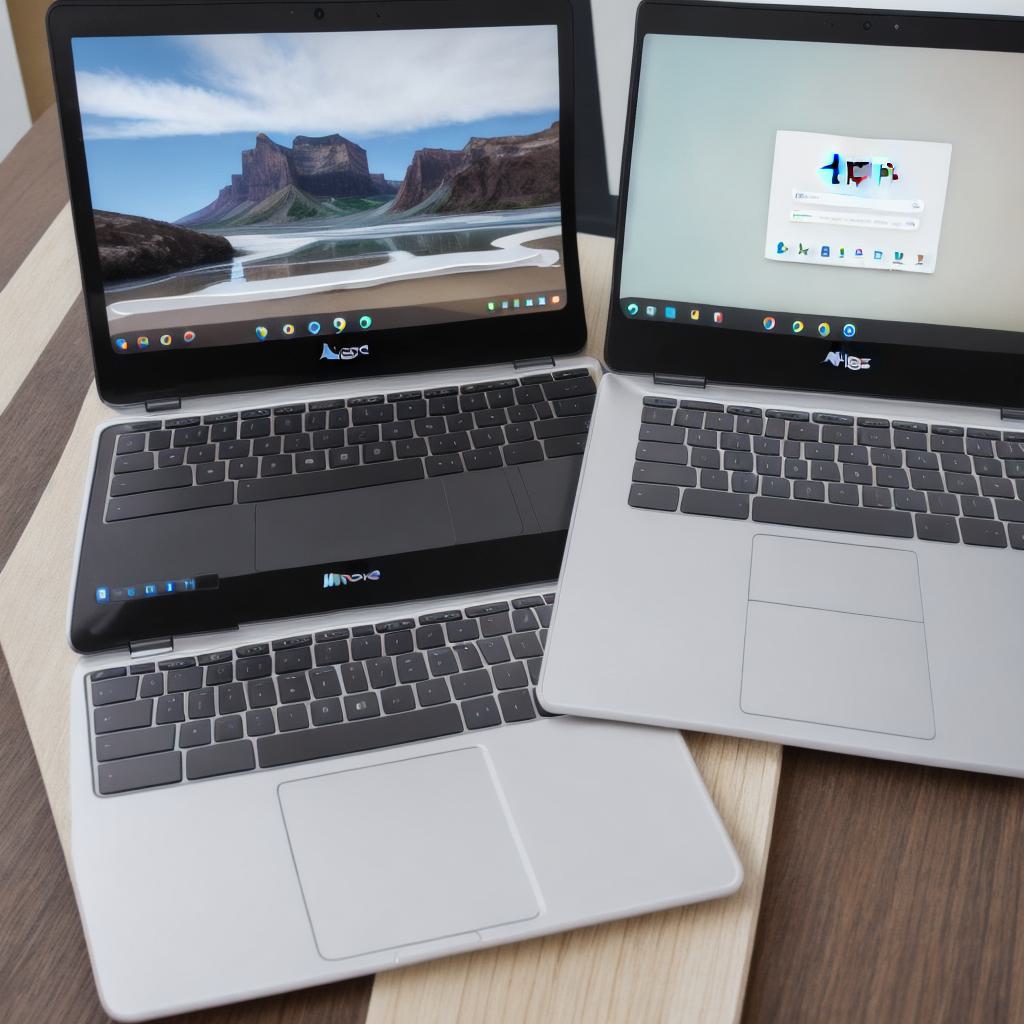
Are you an Android developer looking for a more affordable and portable option to develop your apps? Look no further than your Chromebook! In this article, we’ll explore how to develop Android apps on a Chromebook using the latest tools and techniques.
Introduction:
Developing Android apps can be a time-consuming and expensive process. However, with the rise of cloud computing and virtualization technology, it’s now possible to develop Android apps on a wide range of devices, including Chromebooks. In this article, we’ll take a closer look at how to use your Chromebook as an Android development platform and explore some of the benefits and challenges of doing so.

Benefits of Developing Android Apps on a Chromebook:
- Cost-effective: Chromebooks are more affordable than traditional laptops or desktops, making them a great option for developers who don’t want to break the bank on expensive hardware.
- Portable: Chromebooks are lightweight and easy to carry around, making it easy to work on your apps from anywhere.
- Flexibility: Chromebooks can run Android Studio, which is the official integrated development environment (IDE) for Android app development. This means that you can use all of the latest tools and features to develop your apps, without having to sacrifice flexibility or functionality.
- Compatibility: Chromebooks are compatible with a wide range of Android devices, making it easy to test and deploy your apps on a variety of devices.
Challenges of Developing Android Apps on a Chromebook:
- Limited hardware resources: While modern Chromebooks come equipped with powerful processors and plenty of RAM, they still don’t have the same level of processing power as traditional laptops or desktops. This can make it more difficult to develop complex or resource-intensive apps.
- Limited screen space: Chromebooks typically have smaller screens than traditional laptops or desktops, which can make it more challenging to work on complex user interfaces or design elements.
- Limited storage space: Chromebooks typically come with less storage space than traditional laptops or desktops, which can be a challenge if you need to store large files or media assets.
Getting Started:
To get started with developing Android apps on your Chromebook, you’ll need to download and install Android Studio. This is the official IDE for Android app development and comes equipped with all of the latest tools and features. Once you have Android Studio installed, you can create a new project and start building your app.
One thing to keep in mind when developing Android apps on a Chromebook is that you’ll need to use an emulator to test your app on a physical device. An emulator allows you to run your app on a virtual Android device, which will simulate the behavior of a real Android device. This can be helpful if you don’t have access to a physical Android device or if you want to test your app on a variety of devices and screen sizes.
Case Study:
Let’s take a look at a real-life example of someone who successfully developed an Android app on their Chromebook. John is an Android developer who works remotely for a software development company. He uses his Chromebook to develop apps and collaborate with his team using tools like Slack and Trello.
John was able to use Android Studio to develop his app, which he then tested using an emulator on his Chromebook. This allowed him to quickly identify and fix any issues with his app before deploying it to the app stores.
